
Getting Started
Upon opening HD Movie Maker, the main page can be seen divided into 2 sections: Movie project, and Quick tools.
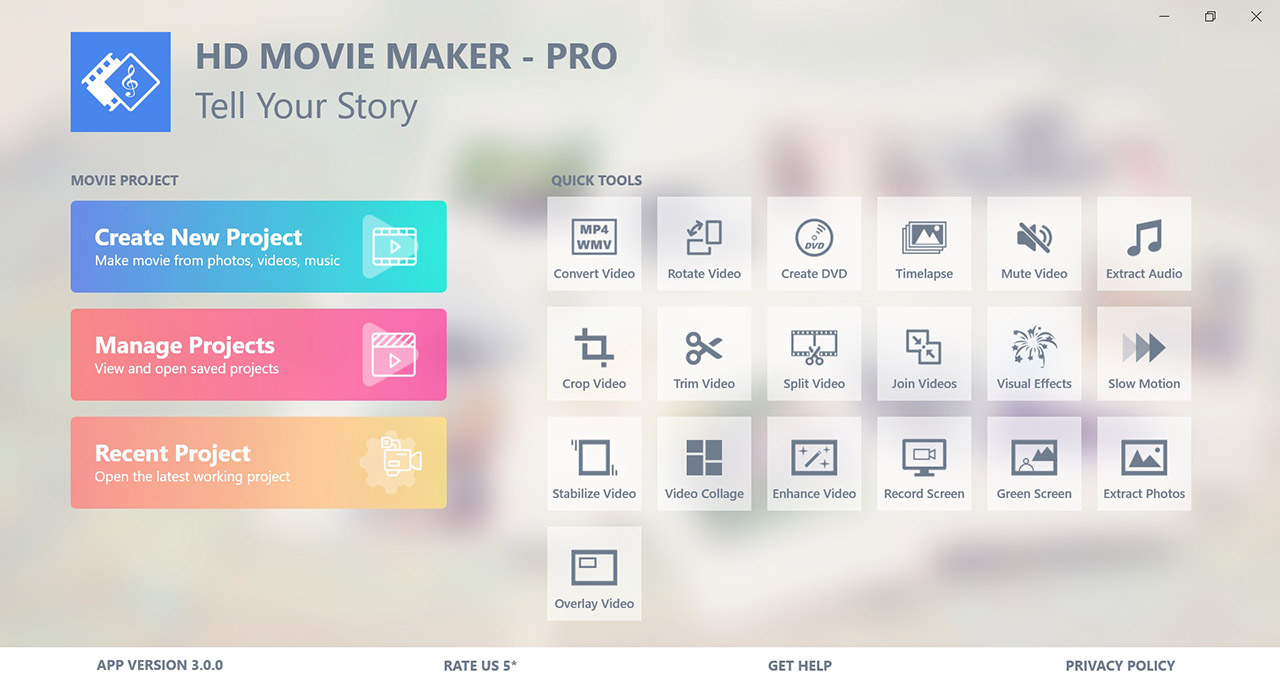
Movie project section provide functionalities to work with movie projects. You can create project from photos, videos and music. Projects can be saved for future changes and can be exported as video files.
There a three main menu:
- Create New Project: to create a new movie project.
- Manage Projects: to view, open and manage all of saved projects
- Recent Project: to open the latest created/edited project.
Quick tools section provide quick, simple, one-shot video editing tools. For more information on how to use quick tools, check out the Quick Tools section on the left.
Create a new project
Select Create New Project to create an empty project.
The project menu includes:
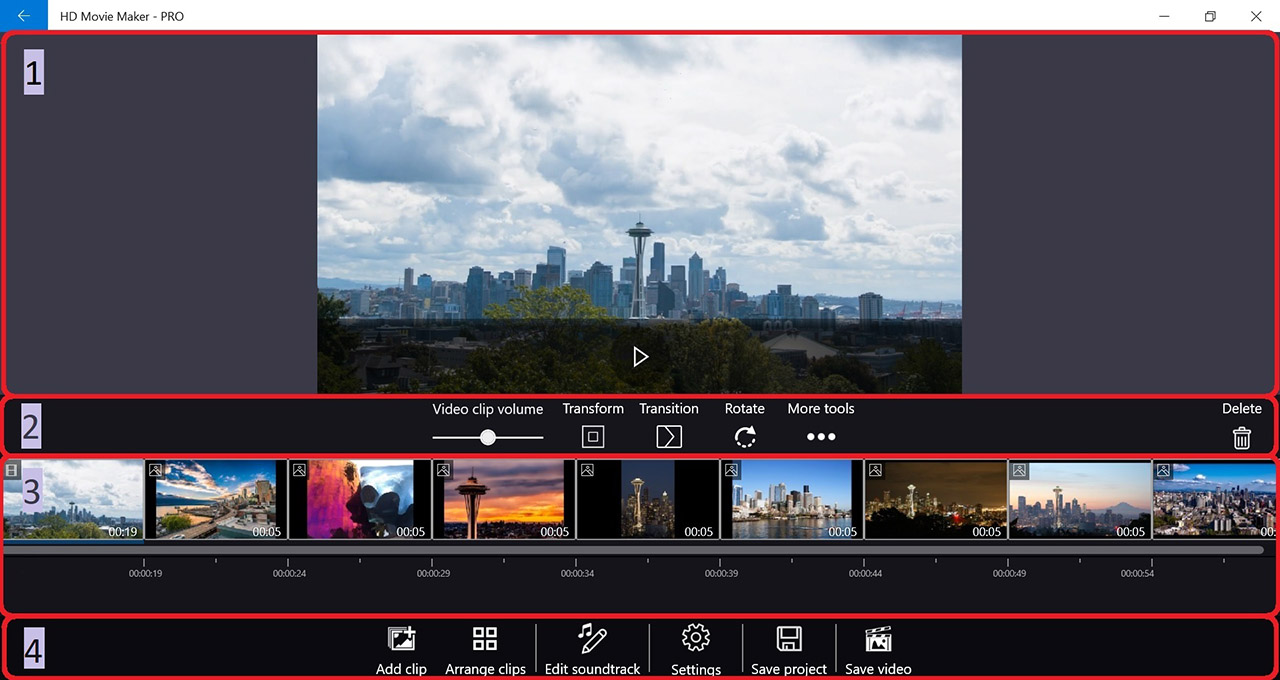
- Preview area: to preview a clip in the project.
- Clip toolbar: contain the set of tools for selected clip. Depending on the type of the clip (photo, video, title, credit), appropriate tools will show up.
- Poject timeline: contain the list of clips currently in your project.
-
Project toolbar: provide actions you can do at the project level
- Add clip: to add a new clip to the project.
- Arrange clips: to rearrange clips in the project.
- Edit soundtrack: to add/edit the soundtrack of the project.
- Settings: to change audio, video aspect ratio, and default effects settings for photos and video clips.
- Save project: to save project for future edits.
- Save video: to export your project as an output video file.
Adding clips
Select Add clip if you want to add new video content to your project.
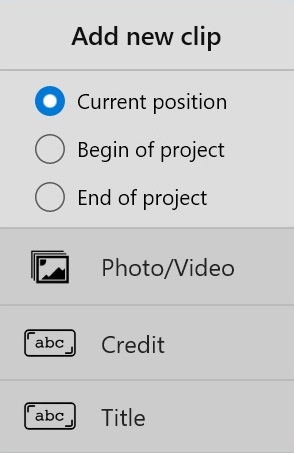
You can select position for the new clip: Current position, Begin of project, End of project.
After that, select the type of clip you want to add:
- Photo/Video: to add a photo clip or a video clip
- Credit: to add a credit
- Title: to add a title
Arranging clips
There are two ways to change the clip’s position. If you want to move one clip to nearby position, you can just drag and drop the clip directly on the project timeline.
If you need to move multiple clips at the same time, or you need to move a clip far away, you can use Arrange clips.
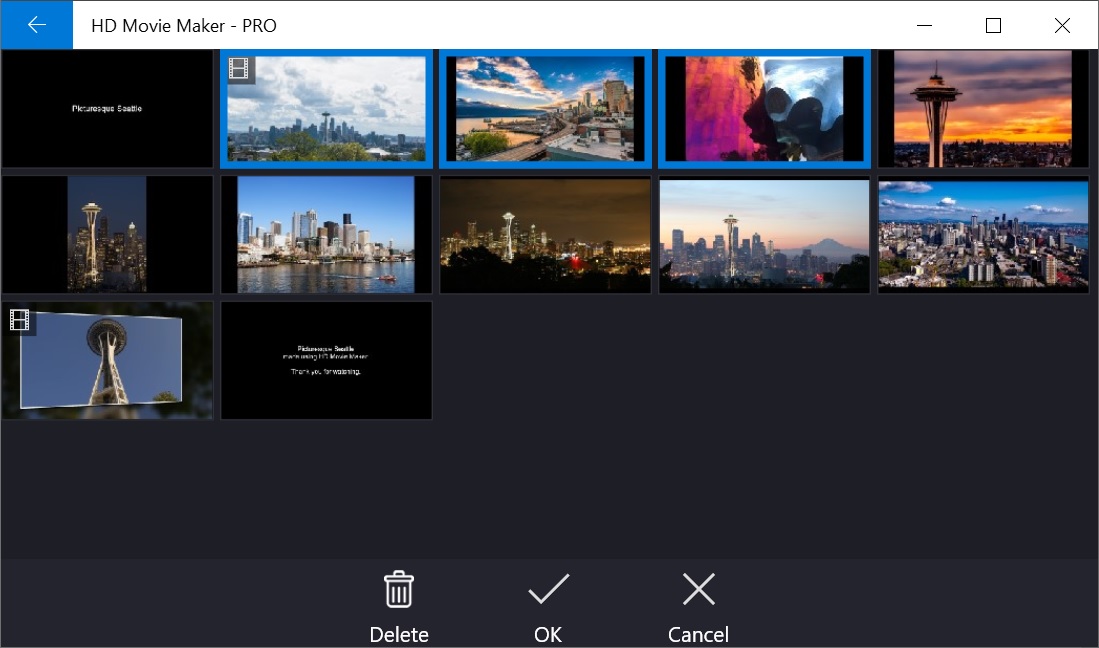
- Select all the clips that needs to be repositioned.
- Drag and drop them to the new position.
- Select OK to apply changes. Select Cancel to discard all changes.
After adding clips to the project, you can do further editing as below:
Working with photo clips
Working with video clips
Working with titles and credits
Adding photo overlay
Adding text overlay
Working with soundtrack editor
Set project settings
Save project and save video