 Tutorials
Video Collage is used to put several videos and photos into a single video by using templates.
-
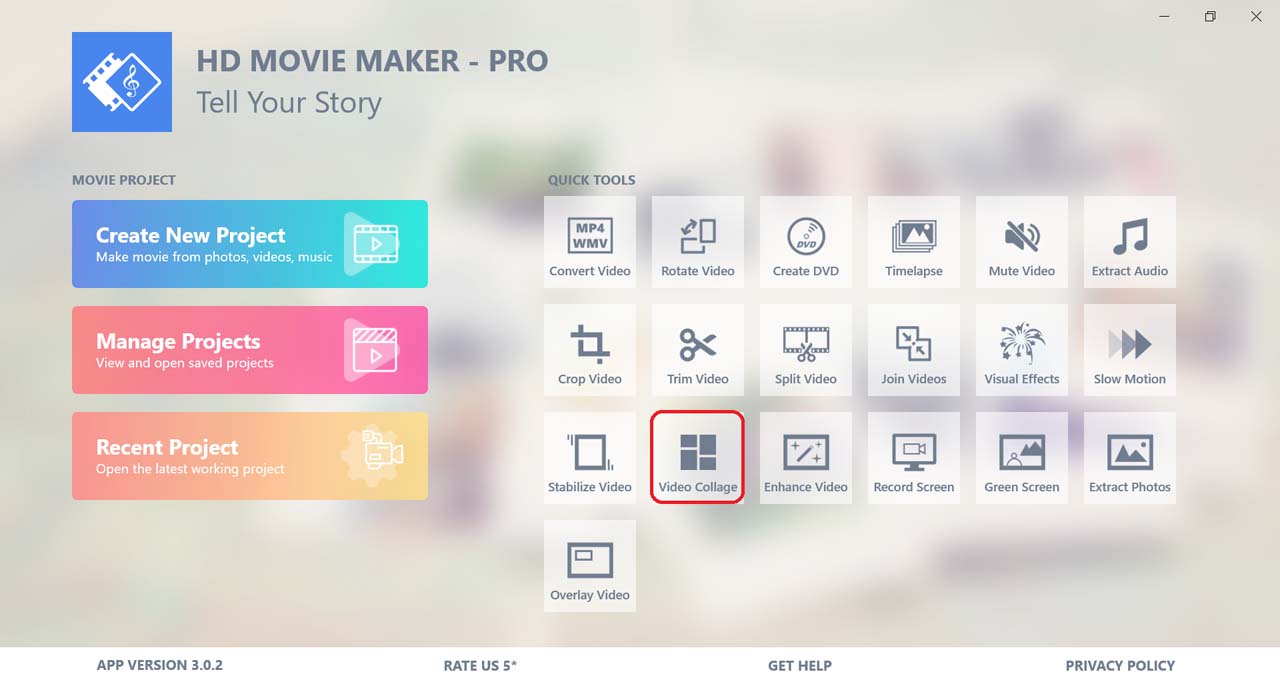
Select Video Collage in the Quick Tools section to open the tool.
-
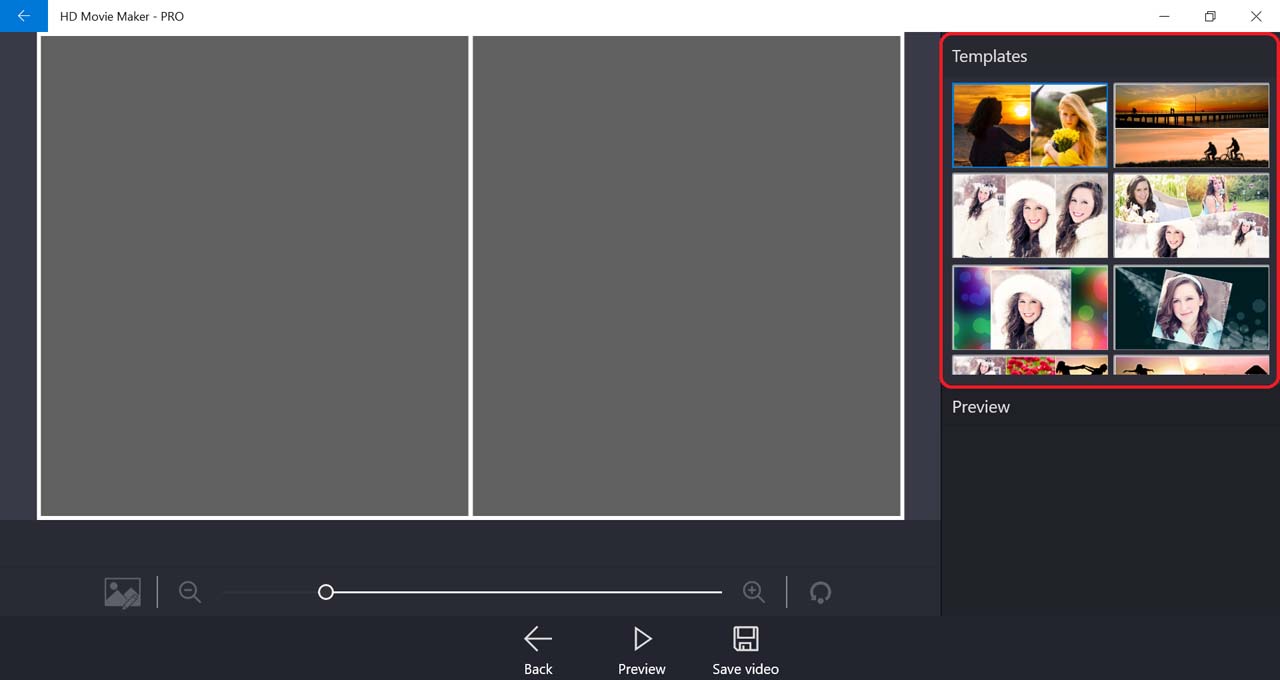
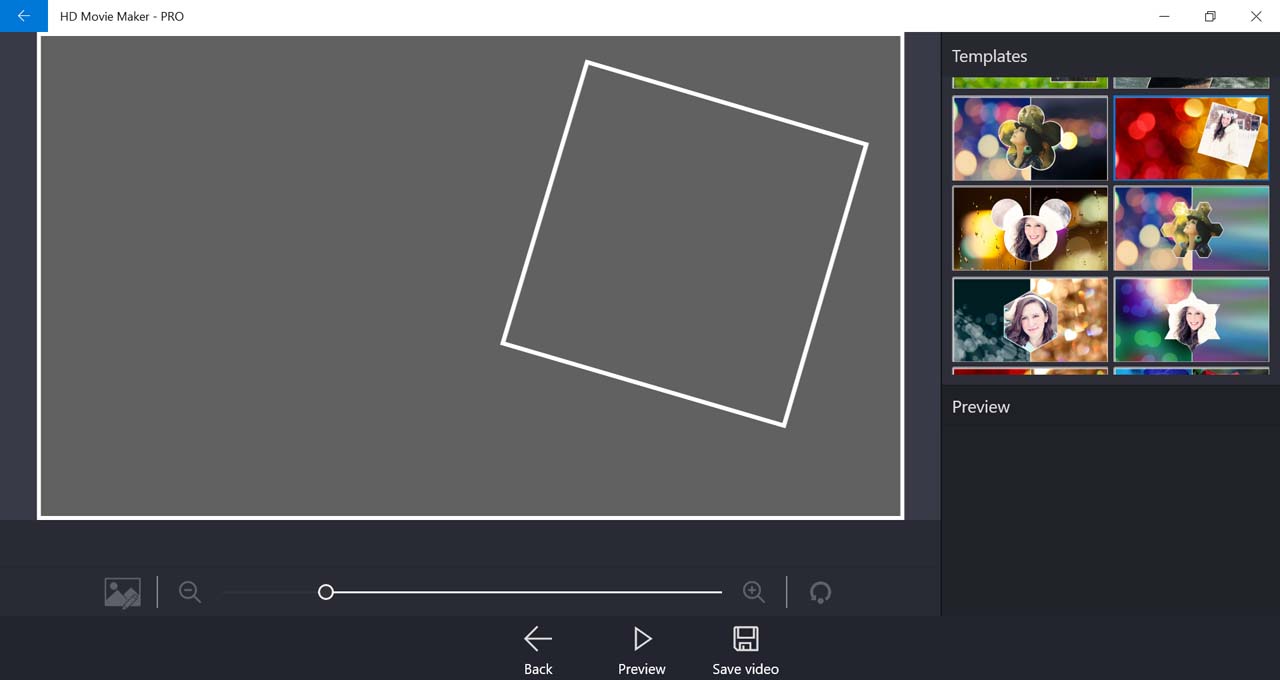
First choose a template. In HD Movie Maker, there are over 25 templates available for you to choose from.
-
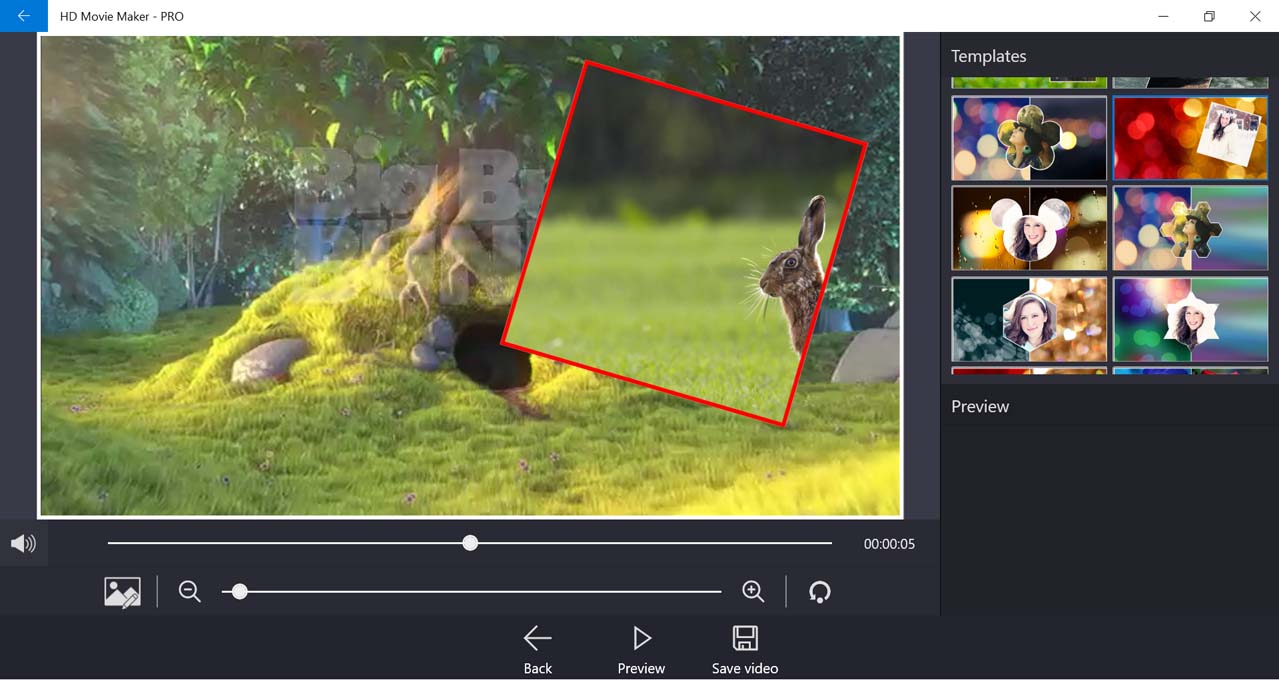
Next, click on a section and pick a video/photo for that part.

-
There a several things you can do with the video/photo you added.
-
By selecting the button next to the zoom out button on the second row, you can change the video/photo.

-
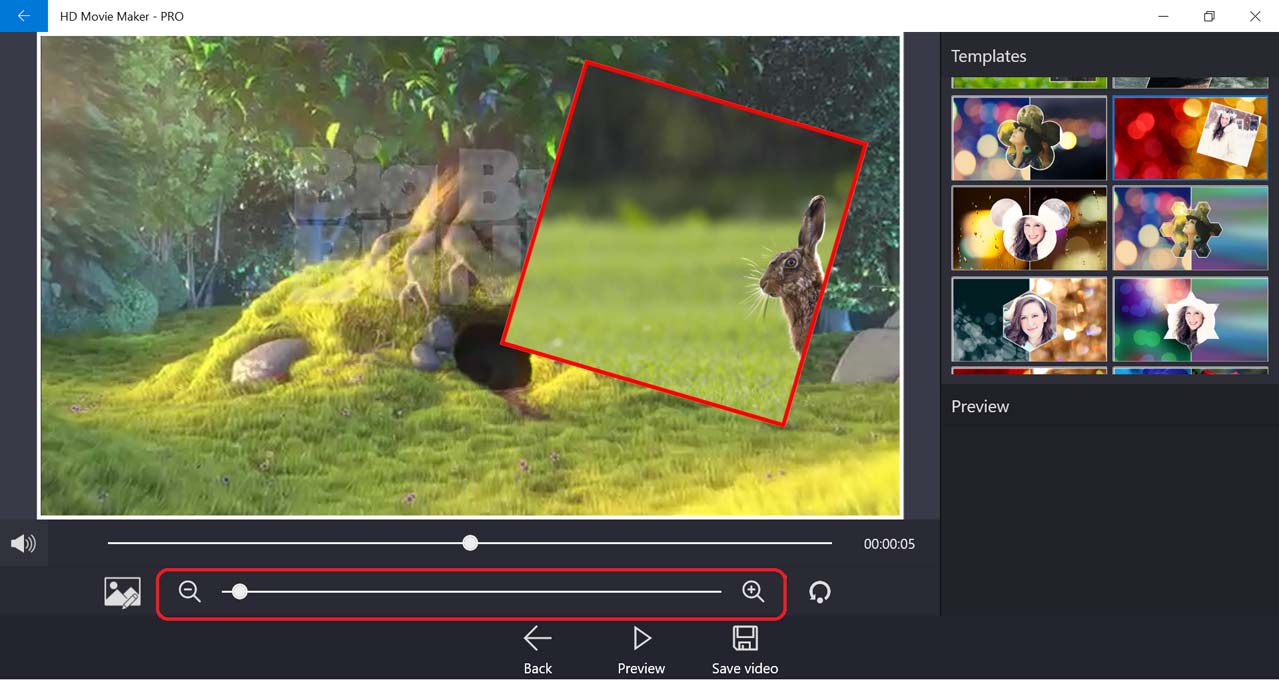
The bottom slider is used to change the scale of the video/photo. You can also click the zoom in and zoom out button located inline with the slider for this.
-
Drag and drop the inside of the frame will change the position of the video/photo.

-
To reset the position and scale of the video/photo to the default, select the reset button next to the zoom in button located on the second row.

-
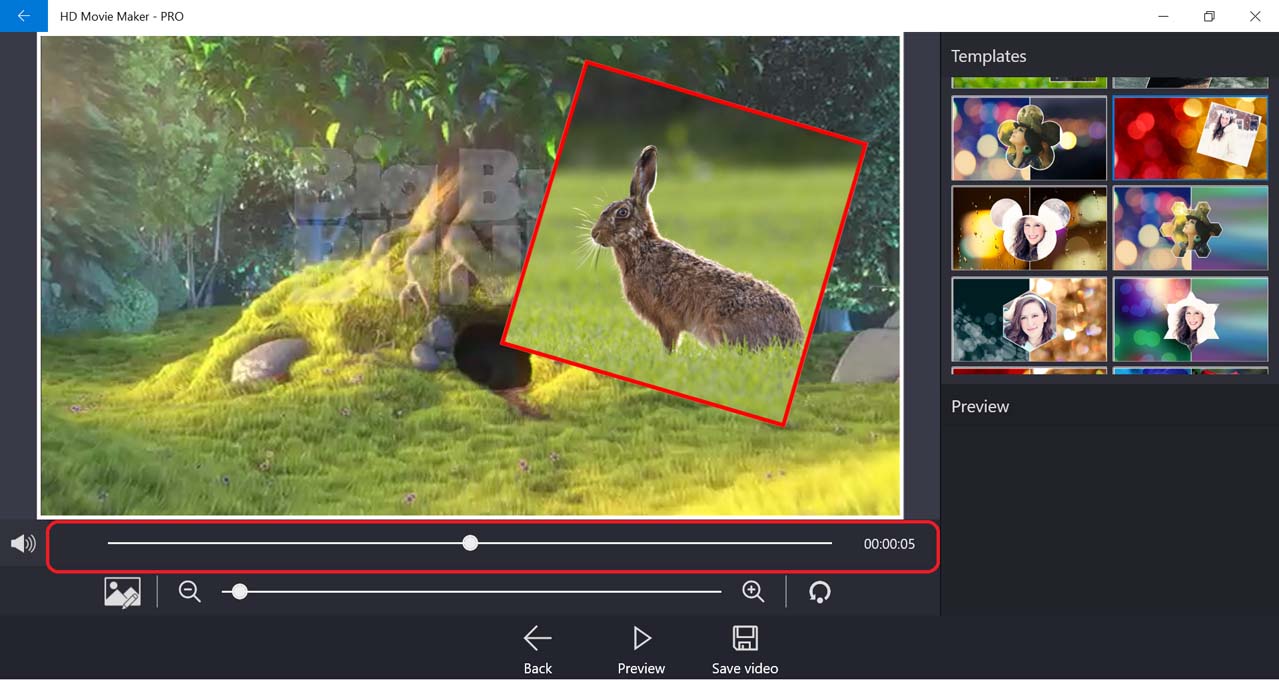
Use the botton timeline slider to seek through the video and check if the video fits properly as you need. (Video only)
-
You can choose to enable/disable the sound of the selected video by clicking the sound option in the leftmost corner of first row. (Video only)

-
-
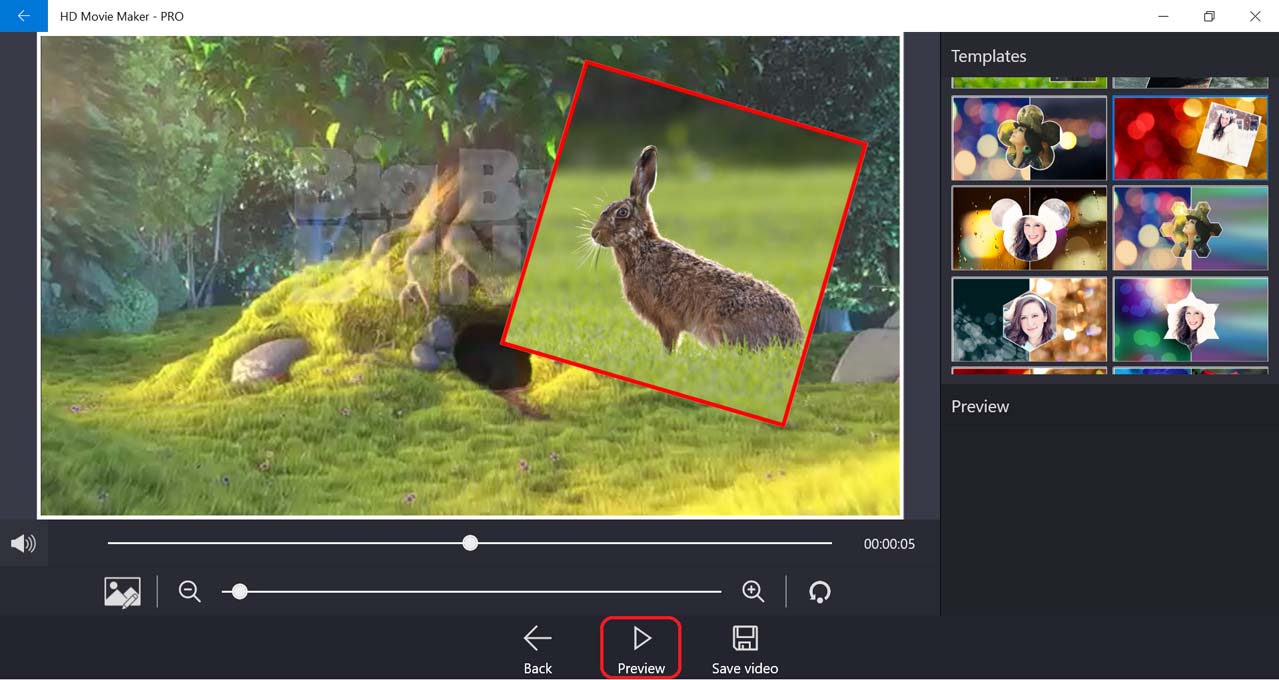
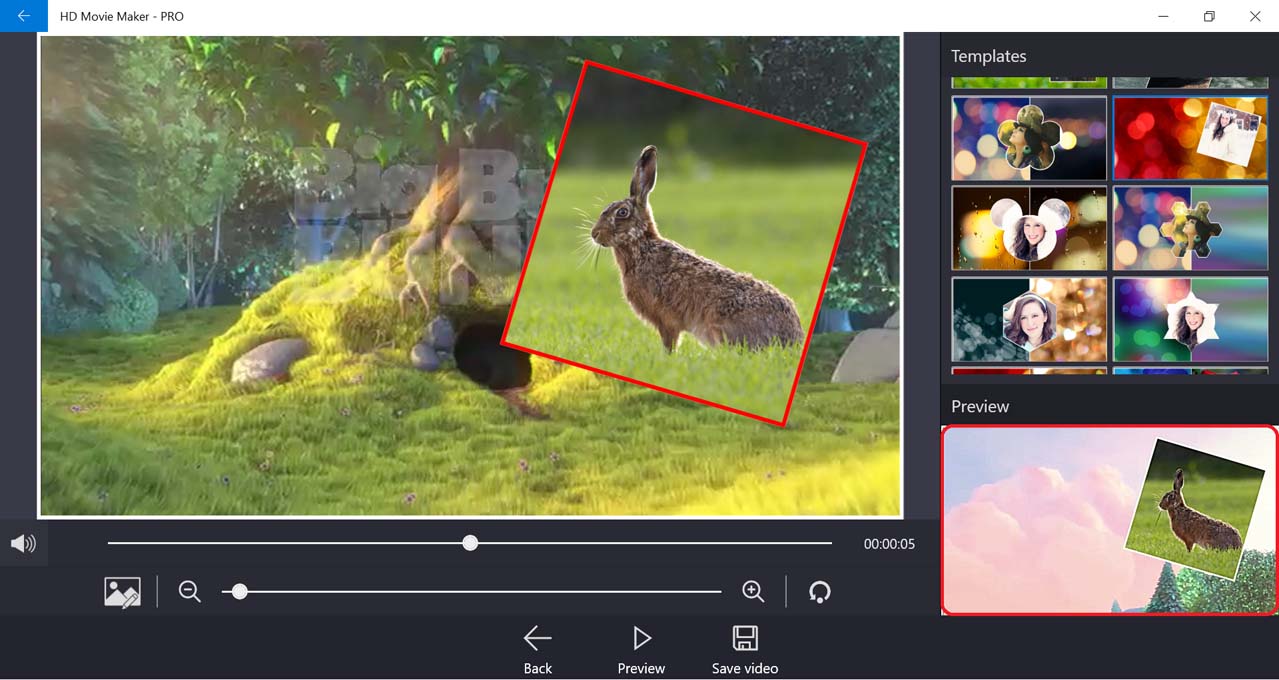
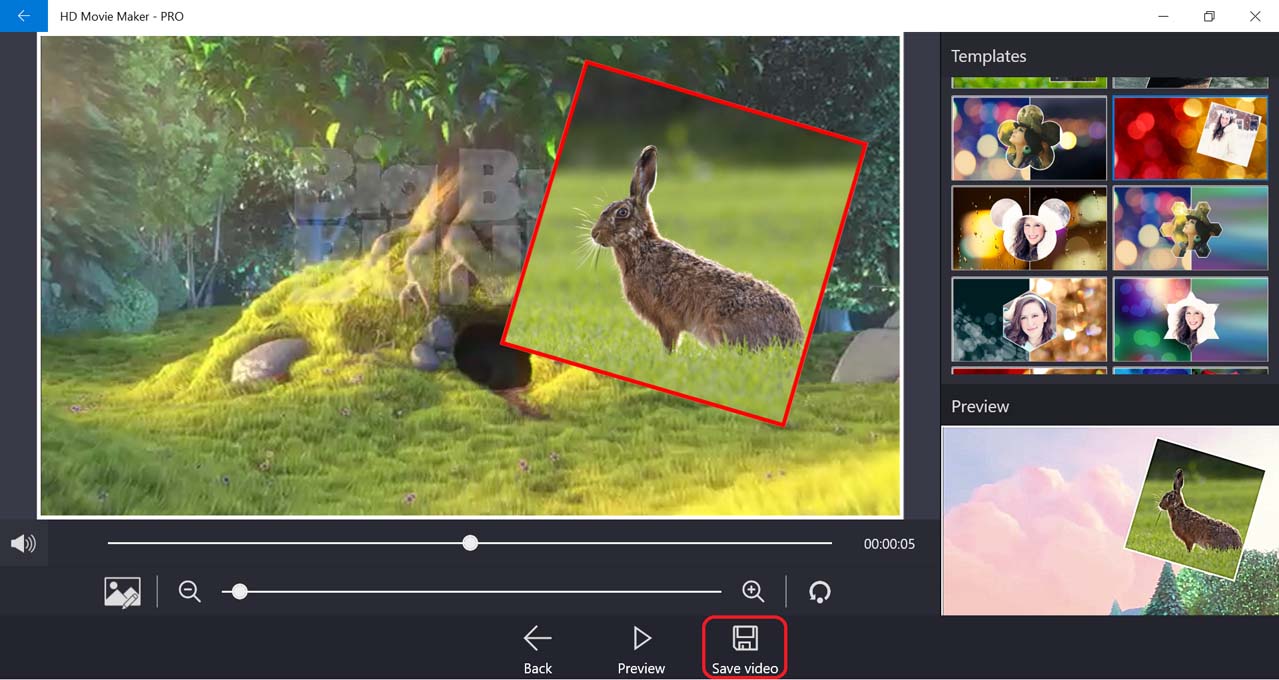
To preview the collage before saving, use the Preview button.
The Preview window will be in the bottom right corner of the screen.
-
When you’re done, select Save video.
-
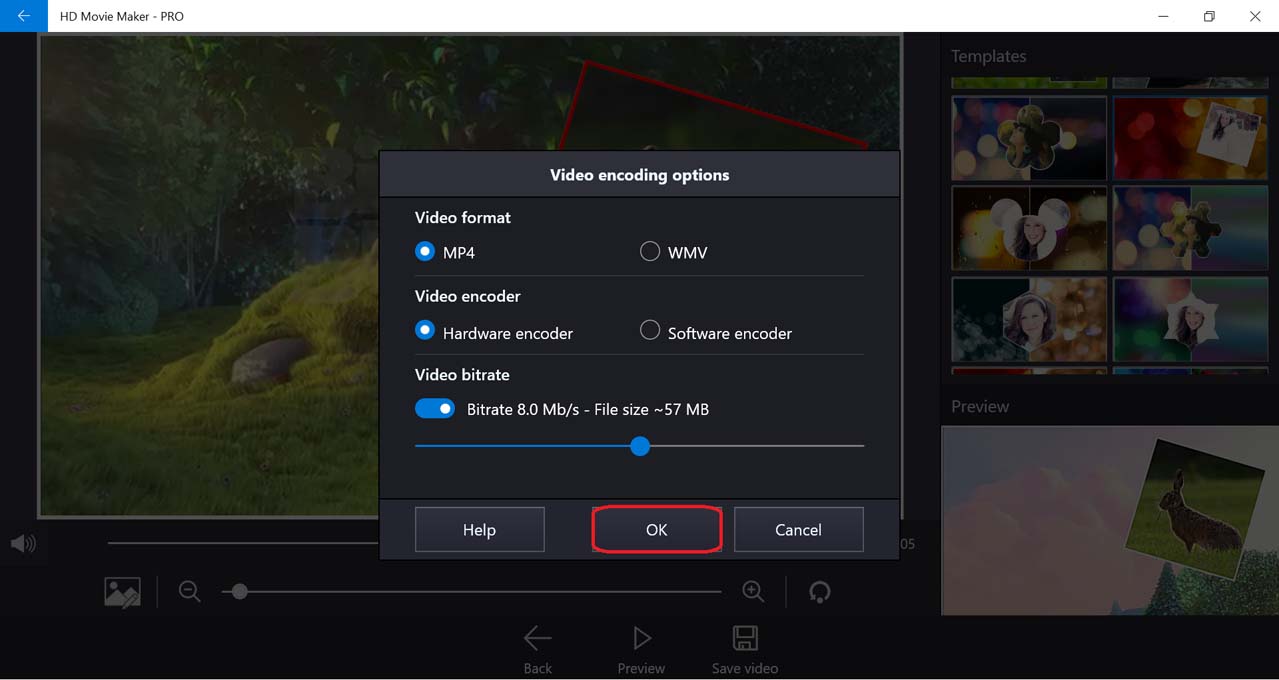
Select output movie settings, then press OK.
-
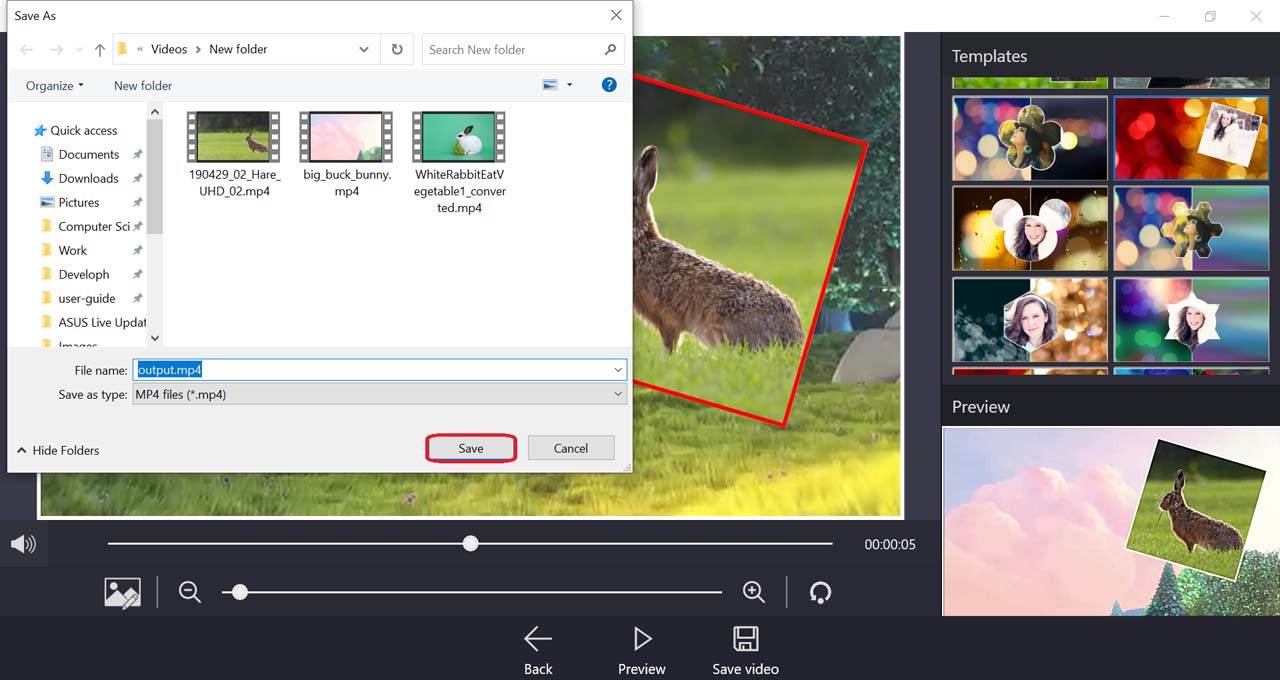
Next, choose the location of the output video file. .
-
After HD Movie Maker finished processing, you can view the output video.